
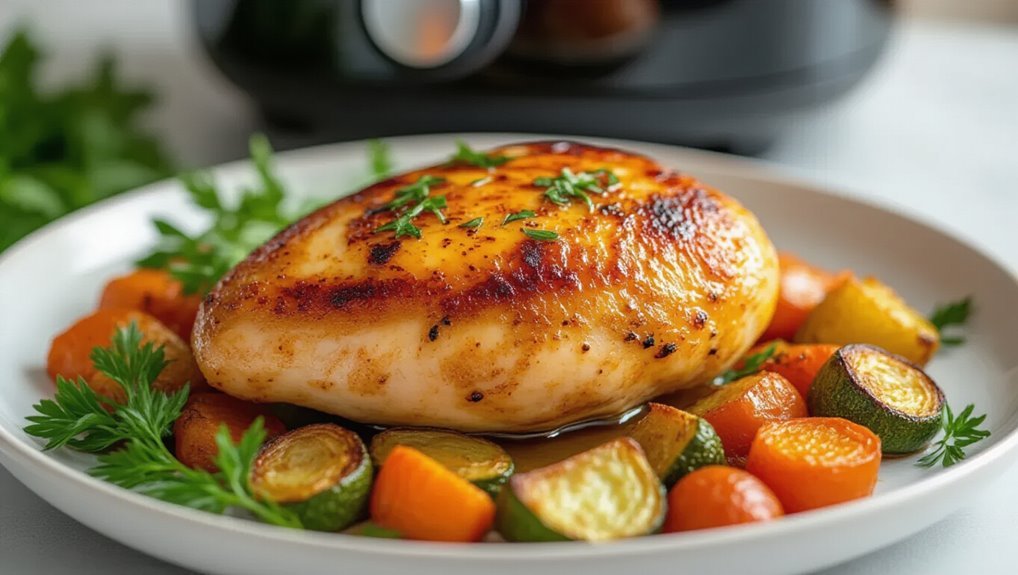
To cook the juiciest chicken breast in your air fryer, start by choosing fresh, high-quality chicken and patting it dry. Season it with your favorite blend of spices and let it sit at room temperature. Preheat your air fryer to 375°F and cook boneless breasts for 15-20 minutes, flipping halfway. Let the chicken rest for 5-10 minutes after cooking to lock in moisture. Want to enhance your dish further? There’s more to explore!
Key Takeaways
- Select high-quality, fresh chicken breasts and trim excess fat for a cleaner presentation and better flavor.
- Pat chicken dry and let it sit at room temperature for 15-20 minutes before cooking for even results.
- Season with a blend of salt, pepper, and garlic powder, or use marinades for added flavor.
- Cook at 375°F for 15-20 minutes, flipping halfway through for even browning; adjust time if cooking from frozen.
- Allow the chicken to rest for 5-10 minutes post-cooking to retain juiciness before slicing.
Choosing the Right Chicken Breast
When selecting chicken breast, what should you look for to ensure the juiciest results? First, choose fresh, high-quality chicken. Look for breasts that are plump, with a smooth, even surface. Avoid any that have discoloration or a slimy texture.
Check for size; larger breasts often contain more moisture, but don’t overlook smaller ones, which can be tender and flavorful. If possible, opt for organic or free-range options, as they usually have better flavor and texture. For those interested in classic Italian dishes, chicken parmesan is a delicious way to prepare chicken breast and can be made even juicier with the right cut.
Also, consider bone-in, skin-on chicken breasts, as these can retain moisture during cooking. Finally, pay attention to the sell-by date to ensure freshness. Making the right selection sets the foundation for a delicious, juicy chicken breast. For added convenience in your next meal, you can also choose chicken breast strips which are pre-cut and ready for quick cooking.
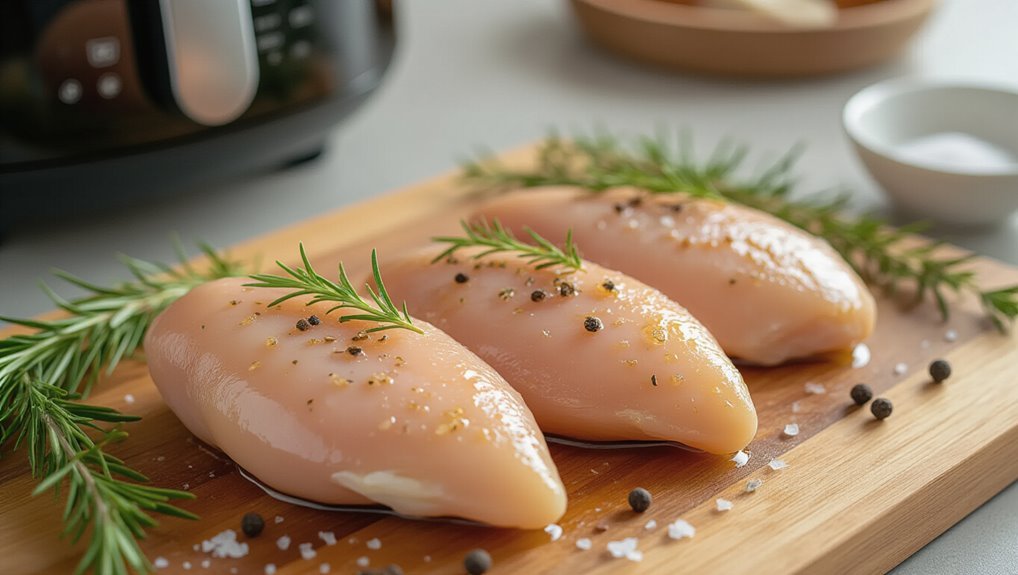
Preparing Your Chicken for Cooking
Before you start cooking, it’s essential to prepare your chicken properly to ensure maximum juiciness and flavor.
First, you’ll want to thaw the chicken breasts completely if they’re frozen. This allows for even cooking.
Next, pat the chicken dry with paper towels to remove excess moisture, which helps achieve that crispy exterior.
Trim any excess fat or unwanted pieces for a cleaner presentation.
If your chicken breasts are uneven in thickness, consider pounding them gently to create a uniform size, ensuring they cook evenly.
For even more flavor, try marinating your chicken with a chicken marinade kit before air frying for a delicious result.
Finally, let the chicken sit at room temperature for about 15-20 minutes before cooking. This step promotes even cooking and helps maintain juiciness throughout the process.
To make preparation even easier, consider using air fryer accessories specifically designed for optimal cooking and cleanup.
Now you’re ready to season and cook!
Seasoning Options for Maximum Flavor
To elevate the flavor of your chicken breasts, experimenting with various seasoning options can make all the difference.
Start with a simple blend of salt, pepper, and garlic powder for a classic taste. If you’re feeling adventurous, try a marinade with olive oil, lemon juice, and your favorite herbs like rosemary or thyme. For an added twist, consider using a Italian seasoning blend to introduce classic Mediterranean flavors to your chicken.
For a spicy kick, consider using paprika, cayenne pepper, or chili powder. Don’t forget about Italian seasoning or a BBQ rub for a smoky flavor profile.
You can also experiment with sweet elements like honey or brown sugar to balance the spice.
Mix and match these flavors to create a profile that suits your taste buds, ensuring your chicken is anything but bland! For an extra layer of deliciousness, try topping your air-fried chicken breast with sliced mozzarella cheese before serving.
Preheating Your Air Fryer
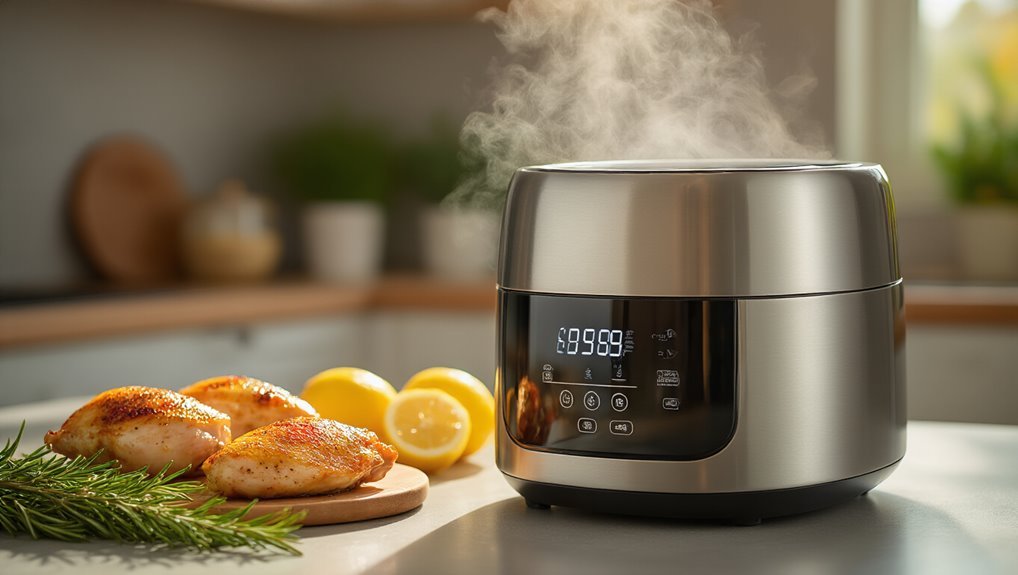
After seasoning your chicken breasts to perfection, the next step is preheating your air fryer. Preheating ensures your chicken cooks evenly and retains its juiciness. If you’re curious about the best cookware for oven use, consider learning about the benefits of oven safe baking dish options for even more versatility in your kitchen.
Here’s how to do it right:
- Set the Temperature: Choose the appropriate temperature based on your recipe, typically around 375°F (190°C) for chicken breasts.
- Time it Right: Preheat for about 5 minutes. This brief wait maximizes the air fryer’s efficiency.
- Check the Indicator: Most air fryers have a preheat indicator. Wait for it to signal that it’s ready before adding your chicken.
If you’re looking for alternative cookware options, consider trying an oven safe skillet for versatile cooking both on the stovetop and in the oven.
Cooking Time and Temperature Guidelines
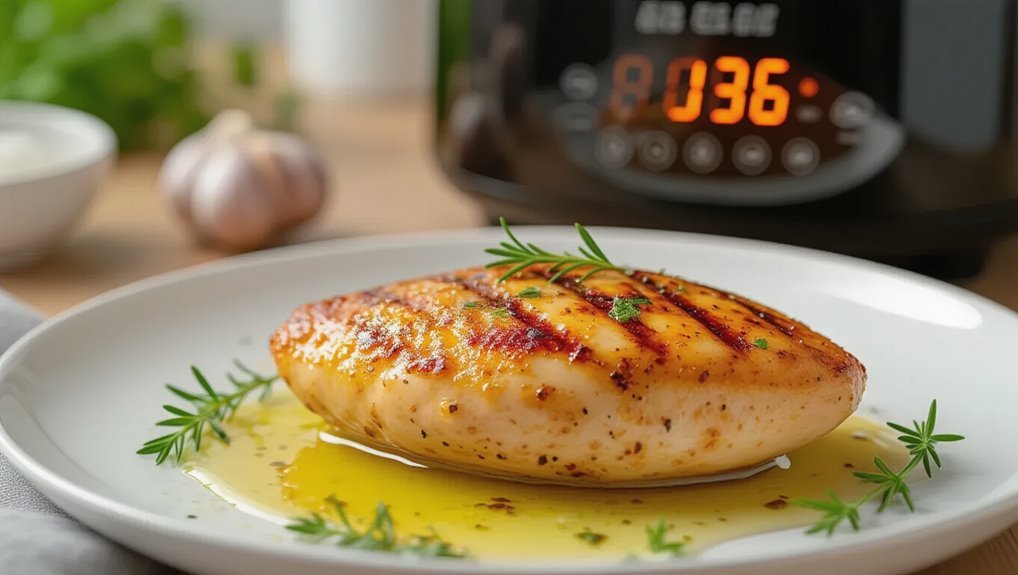
Getting the cooking time and temperature right is crucial for achieving perfectly juicy chicken breasts in your air fryer. For optimal results, set your air fryer to 375°F.
Cook boneless, skinless chicken breasts for about 15 to 20 minutes, depending on their thickness. If you’re using chicken breasts that are particularly thick, you might need to increase the cooking time slightly.
Always remember to flip the chicken halfway through the cooking process to ensure even browning. If you’re cooking frozen chicken, adjust the time to approximately 25 to 30 minutes, still at 375°F.
With these guidelines, you’ll get that delicious, juicy chicken every time! Enjoy your meal prep and impress everyone with your air-fried chicken skills!
Checking for Doneness
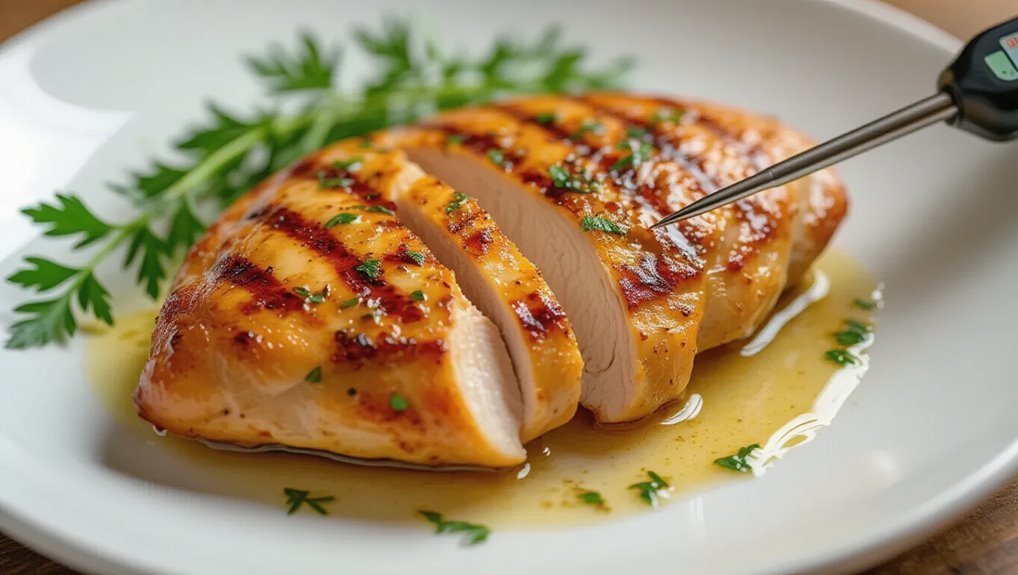
How can you be sure your chicken breast is cooked perfectly? Checking for doneness is crucial to ensure safety and flavor. Here are three reliable methods to confirm your chicken’s readiness:
- Temperature Check: Use a meat thermometer. The internal temperature should reach 165°F (75°C) for safe consumption.
- Juice Test: Puncture the thickest part of the breast with a fork. If the juices run clear, your chicken is likely cooked through. If they’re pink or red, it needs more time.
- Visual Inspection: Look for a firm texture and opaque color. If the chicken still looks translucent or feels soft, it’s not done yet.
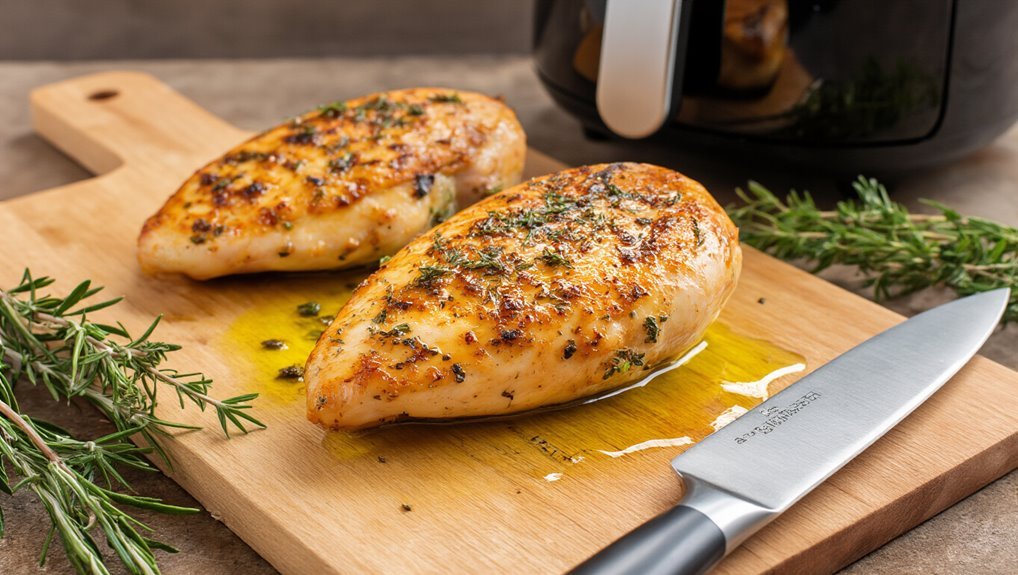
Resting the Chicken
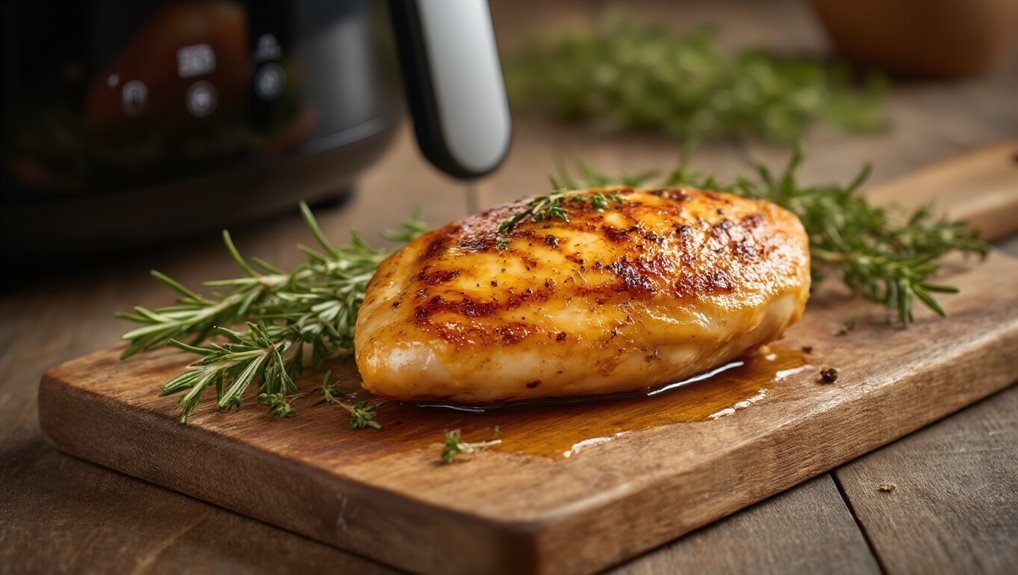
Resting the chicken is a crucial step that shouldn’t be overlooked. After cooking, let the chicken breast sit for about 5 to 10 minutes. This allows the juices to redistribute, ensuring every bite is moist and flavorful. If you cut into it too soon, the juices will run out, leaving you with a dry piece of meat.
Here’s a quick reference for resting times:
| Chicken Type | Resting Time | Benefits |
|---|---|---|
| Boneless Breast | 5 minutes | Juicier texture |
| Bone-In Breast | 10 minutes | Enhanced flavor |
| Whole Chicken | 15-20 minutes | Tender, evenly cooked |
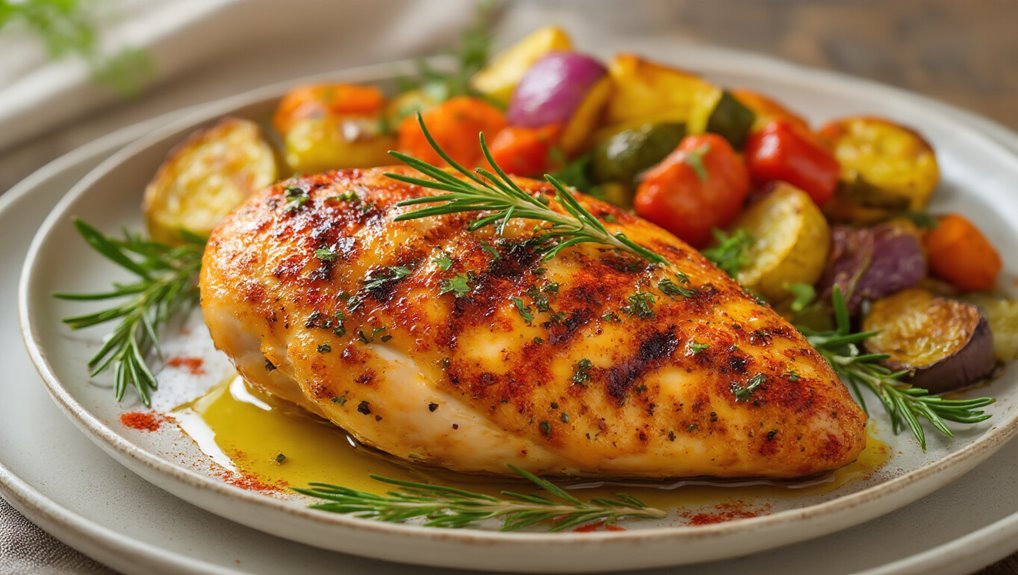
Serving Suggestions
After letting the chicken breast rest, it’s time to think about how to serve it for maximum enjoyment. Here are a few delicious serving suggestions that’ll elevate your meal:
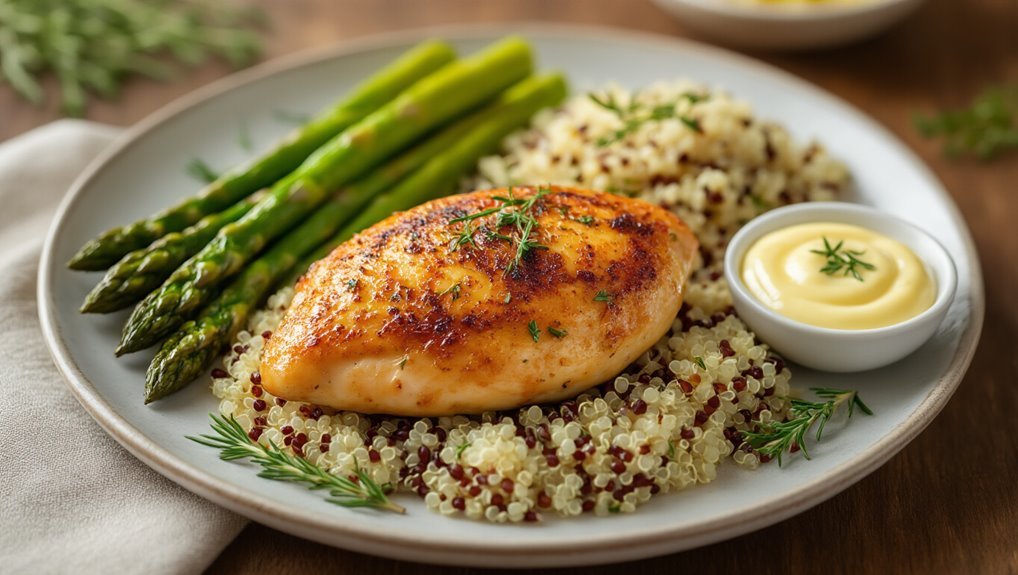
- Slice it thin and layer it on a fresh salad with mixed greens, cherry tomatoes, and your favorite dressing. The juiciness of the chicken complements the crispness of the veggies perfectly.
- Pair it with grains like quinoa or brown rice, and add steamed vegetables for a balanced plate. This combo isn’t only satisfying but also packed with nutrients.
- Top it with a sauce, such as a tangy chimichurri or creamy mushroom sauce, to add an extra layer of flavor. This will make every bite even more delightful!
Enjoy your meal!
Storing Leftovers Properly
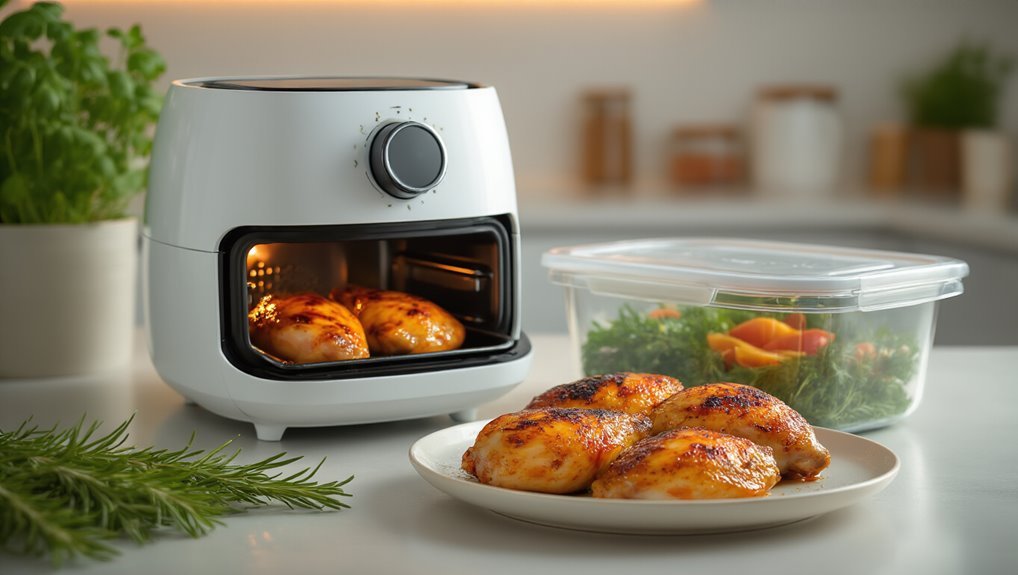
To keep your leftover chicken breast fresh and tasty, it’s essential to store it properly. Start by allowing the chicken to cool down completely before placing it in the fridge. Use airtight containers to prevent moisture loss and keep the flavors intact. You can also wrap it tightly in plastic wrap or aluminum foil.
Here’s a quick guide for storing your chicken:
| Storage Method | Duration | Tips |
|---|---|---|
| Airtight container | 3-4 days in fridge | Label with date |
| Freezer-safe bag | Up to 6 months | Remove as much air as possible |
| Vacuum-sealed bag | Up to 1 year | Use a vacuum sealer |
Frequently Asked Questions
Can I Use Frozen Chicken Breasts in the Air Fryer?
Yes, you can use frozen chicken breasts in the air fryer. Just increase the cooking time, and make sure to check the internal temperature reaches 165°F for safe consumption. Enjoy your quick, delicious meal!
What Is the Best Air Fryer Brand for Chicken?
Imagine biting into perfectly cooked chicken, juicy and tender. For that, you’ll want a reliable air fryer. Brands like Philips and Ninja consistently deliver excellent results, ensuring your chicken turns out delicious every time.
How Do I Prevent Chicken From Drying Out?
To prevent chicken from drying out, you’ll want to marinate it or brine beforehand. Cooking at the right temperature and time is crucial, plus letting it rest before slicing helps retain moisture.
Can I Marinate Chicken Overnight Before Air Frying?
Marinating chicken overnight’s like letting a good story unfold. Yes, you can absolutely marinate it! The flavors deepen, and when you air fry, that chicken’ll be bursting with moisture and taste—just like a well-told tale.
What Sides Pair Well With Air-Fried Chicken Breast?
When you enjoy air-fried chicken breast, consider pairing it with roasted vegetables, creamy mashed potatoes, or a fresh salad. Each side complements the chicken’s flavor, creating a well-rounded and satisfying meal experience.
Conclusion
Cooking the juiciest chicken breast in your air fryer is a game changer! With just a few simple steps, you can elevate your meal to a whole new level of deliciousness. Remember to choose the right chicken, season generously, and keep an eye on the cooking time. Once you’ve mastered this technique, you’ll be the kitchen superstar everyone raves about. Enjoy your mouthwatering creation and don’t forget to share your secret with friends—they’ll think you’re a culinary genius!