
To pan-sear chicken breast perfectly, start with boneless, skinless chicken of uniform thickness. Pat it dry, season generously, and let it marinate for extra flavor. Use a heavy-duty pan, heat it over medium-high, and add a high smoke point oil. Sear the chicken for 6-7 minutes on one side, flip, and reduce the heat for another 5-7 minutes, ensuring it reaches 165°F. Let it rest before slicing for juicy results. There’s more to master for the perfect meal!
Key Takeaways
- Select boneless, skinless chicken breasts of uniform thickness for even cooking and optimal searing results.
- Pat chicken dry, season generously, and consider marinating for enhanced flavor and moisture retention.
- Preheat a heavy-duty skillet over medium-high heat, using oil with a high smoke point for the perfect crust.
- Cook chicken undisturbed for 6-7 minutes on one side, then flip and reduce heat to medium for another 5-7 minutes.
- Allow chicken to rest for 5-10 minutes after cooking to ensure juiciness and flavor redistribution.
Choosing the Right Chicken Breast
When it comes to pan-searing chicken breast, selecting the right cut is crucial for achieving juicy, flavorful results. You’ll want to look for boneless, skinless chicken breasts, as they cook quickly and evenly.
Opt for breasts that are of uniform thickness to ensure they sear properly. If you can, choose organic or free-range chicken; these options often have better flavor and texture.
Pay attention to the color—fresh chicken should have a pink hue without any gray spots. Also, consider the size; smaller breasts might dry out faster, while larger ones can take longer to cook.
Preparing the Chicken for Cooking
After choosing the right chicken breasts, it’s time to prepare them for cooking. Start by patting the chicken dry with paper towels; this helps achieve that perfect sear.
Next, trim any excess fat or sinew for a cleaner presentation. Season both sides generously with salt and pepper, or your favorite spice blend, to enhance the flavor.
If you’re up for it, consider marinating the chicken for at least 30 minutes to infuse more taste. For even cooking, pound the thicker parts of the breast to create an even thickness.
Lastly, let the chicken sit at room temperature for about 15 minutes before cooking. This helps ensure a juicy, evenly cooked result.
Now you’re ready to sear!
Selecting the Perfect Pan
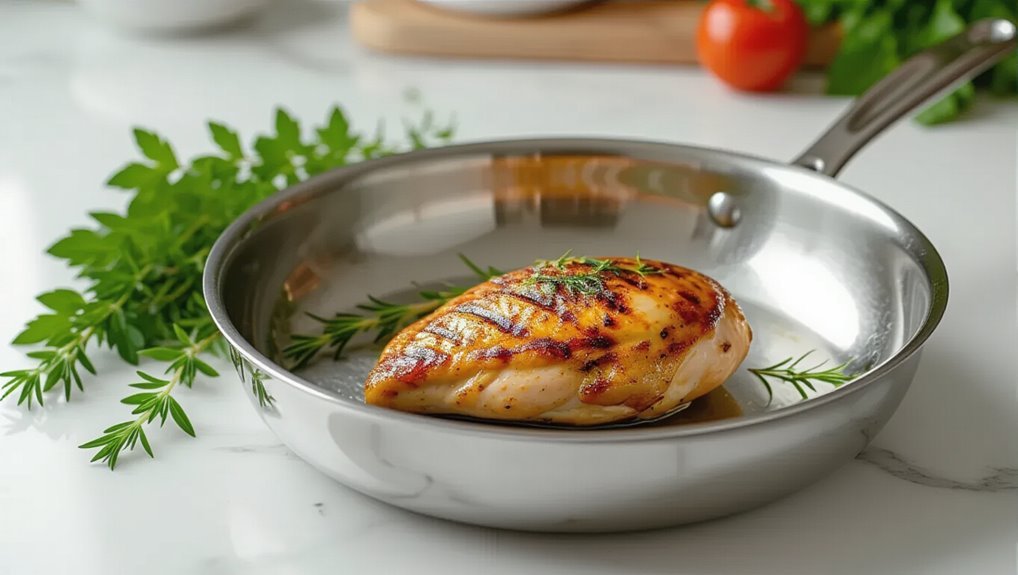
Choosing the right pan is crucial for achieving that perfect sear on your chicken breast. A good pan ensures even heat distribution and helps lock in those delicious juices.
Here’s what to consider when selecting your pan:
- Material: Opt for heavy-duty materials like stainless steel or cast iron, as they withstand high heat and promote browning. A high-end stainless steel skillet can enhance your cooking experience significantly. Additionally, investing in high-end cookware can elevate the quality of your meals.
- Size: Choose a pan that’s large enough to fit your chicken breasts without crowding, allowing for proper airflow and browning.
- Handle: Ensure the handle is sturdy and heat-resistant, making it easy to maneuver while cooking.
With the right pan in hand, you’ll be well on your way to creating a beautifully seared chicken breast that’s sure to impress.
The Importance of Seasoning
Seasoning your chicken breast is essential for enhancing its flavor and elevating the overall dish. It’s not just about salt and pepper; you can get creative with herbs and spices to bring out the best in your chicken.
Before cooking, generously season both sides of the breast. Don’t be shy—this step transforms bland meat into a mouthwatering centerpiece. Consider using garlic powder, paprika, or even a touch of cayenne for a kick.
Marinating your chicken for a few hours or overnight allows the flavors to penetrate deeper, making every bite delicious. Remember, well-seasoned chicken isn’t just tasty; it adds depth to your meal, making it memorable.
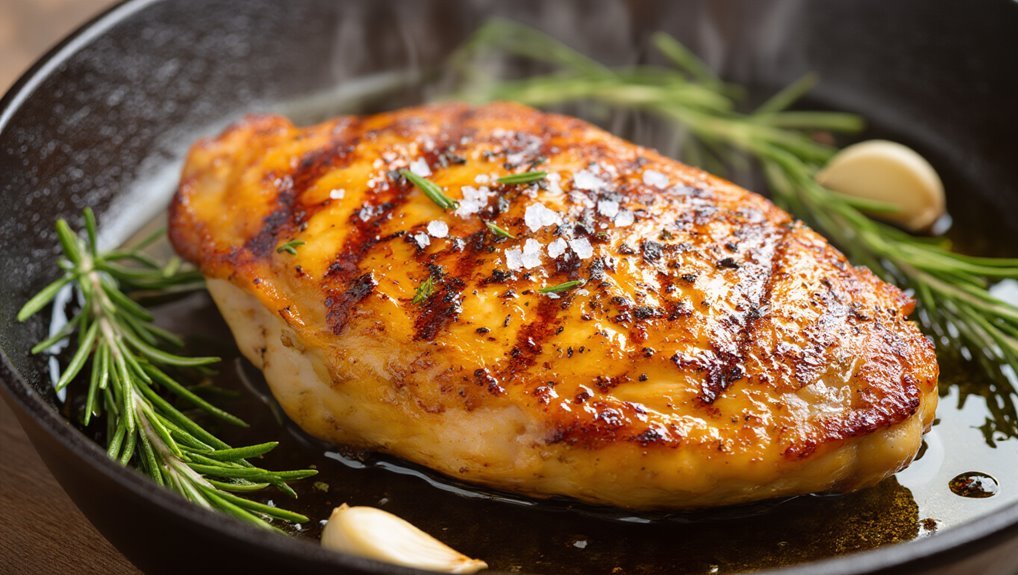
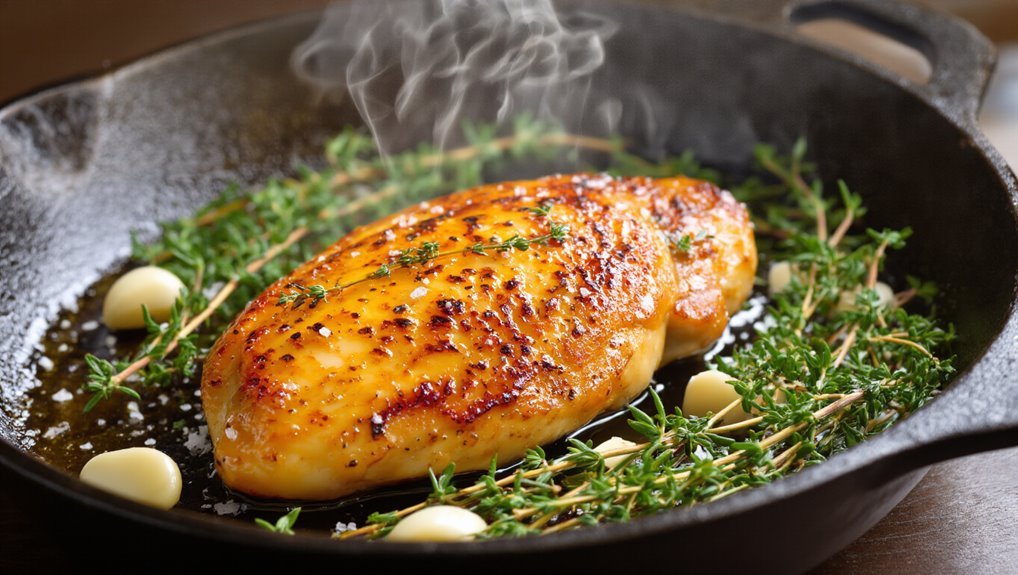
Achieving the Ideal Sear

To achieve the ideal sear on your chicken breast, you need to start with a hot pan and the right type of oil. Heat your skillet over medium-high heat until it’s sizzling, then add oil that can withstand high temperatures. This step is crucial for creating that beautiful crust.
Consider these tips for the best results:
- Choose the right oil: Use oils like canola, avocado, or grapeseed for high smoke points.
- Don’t overcrowd the pan: Sear in batches if necessary to maintain the heat.
- Let it be: Once you place the chicken in the pan, resist the urge to move it around. This allows for even browning and the coveted sear.
With these steps, your chicken will shine!
Cooking Time and Temperature
While achieving the perfect sear is essential, knowing the right cooking time and temperature is just as crucial for juicy, tender chicken breast.
Start by preheating your pan over medium-high heat until it’s hot but not smoking. Once the oil shimmers, add your seasoned chicken breast. Cook for about 6-7 minutes on one side without moving it, allowing that beautiful crust to form.
Flip the chicken and reduce the heat to medium. Cook for another 5-7 minutes until the internal temperature reaches 165°F (75°C). Use a meat thermometer to ensure accuracy. If the chicken’s too thick, you might need a few extra minutes.
Resting the Chicken
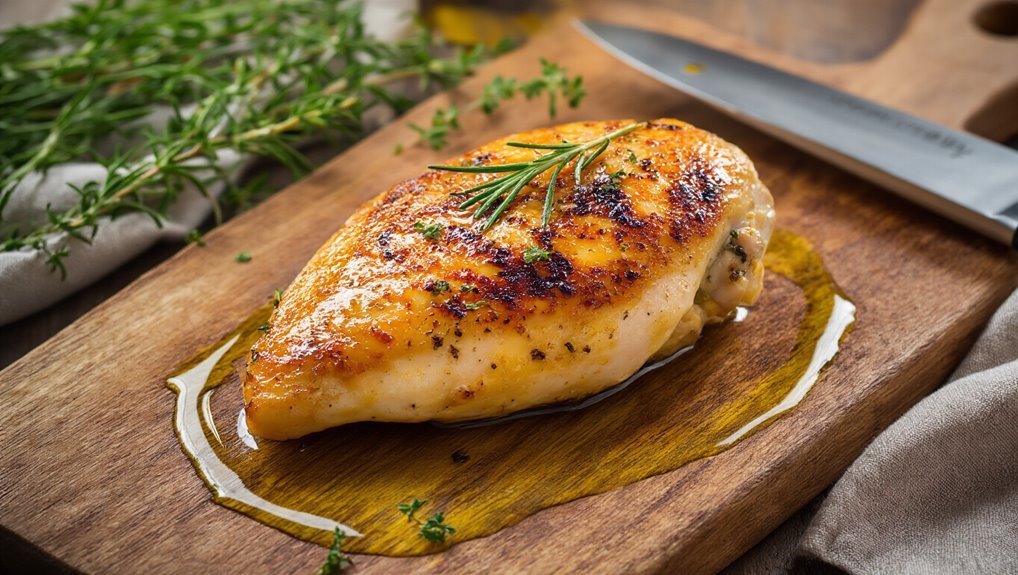
After you’ve cooked your chicken breast to perfection, don’t skip the crucial step of resting it. Allowing the chicken to rest for about 5-10 minutes is essential for juicy results. This process lets the juices redistribute throughout the meat, ensuring every bite is flavorful and moist.
Here are some key reasons to rest your chicken:
- Juiciness: Resting helps retain moisture, making each slice succulent.
- Flavor: The resting period allows flavors to deepen and meld, enhancing taste.
- Easier Slicing: A rested chicken breast is firmer, making it easier to slice without losing juices.
Serving Suggestions and Pairings
Once your chicken breast has rested and the juices are perfectly redistributed, it’s time to think about how to serve it up.
Slice the chicken against the grain for tender bites, and consider a drizzle of lemon juice or a light herb sauce to enhance flavor.
Pair it with roasted vegetables or a fresh salad for a balanced meal. If you’re in the mood for comfort food, serve it alongside creamy mashed potatoes or a hearty grain like quinoa.
You can also toss it into a wrap with your favorite toppings for a quick lunch.
Don’t forget to add a side of your favorite dipping sauce—like honey mustard or barbecue—for an extra kick!
Enjoy your delicious creation!
Frequently Asked Questions
Can I Use Frozen Chicken Breast for Pan-Searing?
You shouldn’t use frozen chicken breast for pan-searing. It won’t sear properly and will cook unevenly. Thaw it completely first to ensure you get that nice golden crust and juicy interior you want.
What Are Common Mistakes to Avoid When Pan-Searing Chicken?
When pan-searing chicken, avoid overcrowding the pan, using too low heat, and flipping too soon. Don’t forget to pat the chicken dry first; it helps achieve that perfect golden crust you’re aiming for.
How Do I Know When the Chicken Is Fully Cooked?
Like a painter checking the canvas, you’ll know chicken’s fully cooked when its juices run clear, and it reaches an internal temperature of 165°F. Trust your instincts and don’t hesitate to use a thermometer.
Can I Pan-Sear Chicken Breast Without Oil?
You can pan-sear chicken breast without oil, but it’s tricky. Using a non-stick pan helps, and you’ll need to monitor the temperature closely to prevent sticking and ensure even cooking throughout.
What Side Dishes Pair Well With Pan-Seared Chicken Breast?
When it comes to side dishes, you’ve hit the nail on the head! Roasted vegetables, creamy mashed potatoes, or a fresh salad all complement pan-seared chicken beautifully, creating a well-rounded meal that satisfies your taste buds.
Conclusion
Now you’re ready to transform your kitchen into a culinary haven! With the right chicken breast, a hot pan, and a sprinkle of seasoning magic, you’ll create a golden-brown masterpiece that’s juicy and flavorful. Remember, patience is key—let that chicken rest to lock in the juices. Serve it up with your favorite sides, and watch as your family gathers around the table, savoring every bite. You’ve not just cooked; you’ve crafted a delicious memory!


