

For the best pasta e fagioli, start with cannellini or borlotti beans and small pasta like ditalini. Sauté garlic, onions, carrots, and celery in olive oil, then mix in diced tomatoes and broth. If using dried beans, soak and cook them until tender. Stir in pasta and simmer until al dente. Finish with fresh herbs, grated cheese, and a drizzle of olive oil. Keep going to discover tips on variations and storing this comforting soup.
Key Takeaways
- Start with a flavorful base by sautéing onions, carrots, celery, and garlic in olive oil for depth of flavor.
- Use cannellini or borlotti beans for creaminess; soak dried beans overnight or use canned beans for convenience.
- Incorporate small pasta like ditalini or elbow macaroni, cooking until al dente for the perfect texture.
- Enhance the dish with freshly chopped herbs and grated cheese before serving, alongside crusty bread for dipping.
- Store leftovers properly in airtight containers, refrigerating for up to 3 days or freezing for 3 months to maintain quality.
Ingredients You’ll Need
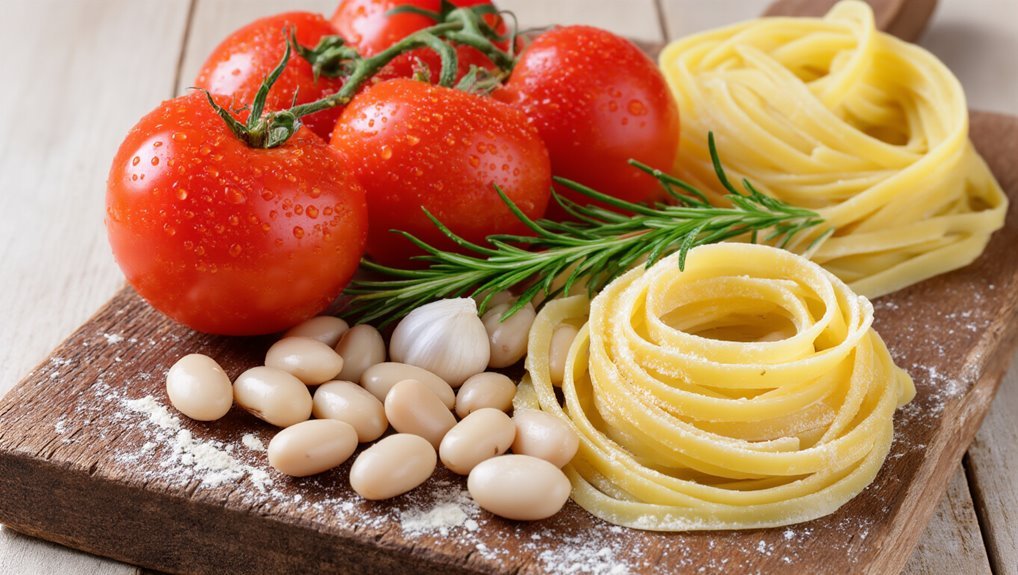
To whip up a delicious pasta e fagioli, you’ll need a few key ingredients that come together to create a comforting dish.
Start with cannellini beans or borlotti beans; they add creaminess and texture. You’ll also want some small pasta, like ditalini or elbow macaroni, which makes it easy to enjoy every bite.
Fresh garlic and onions are essential for a robust flavor base. Don’t forget diced tomatoes—canned or fresh—for a rich, tangy backdrop. Using quality plant food can help you grow your own herbs for this recipe, enhancing the fresh flavor even more.
A good vegetable or chicken broth brings everything together, while olive oil adds richness. Finally, grab some fresh herbs like parsley or basil for garnish. By utilizing quality soil products, you can create a thriving herb garden right at home.
With these ingredients in hand, you’re ready to dive into making a hearty bowl of pasta e fagioli.
Preparing the Base
Start by heating a generous splash of olive oil in a large pot over medium heat.
Once the oil shimmers, add finely chopped onions, carrots, and celery. Sauté these veggies for about five minutes until they soften and the onions turn translucent.
This aromatic base is crucial for depth of flavor. Additionally, using quality netting solutions can help protect your garden from pests that might otherwise impact the freshness of your ingredients.
Next, stir in minced garlic and cook for an additional minute, letting the garlic release its fragrance.
Now, sprinkle in salt and pepper to season the mixture. If you like a kick, consider adding a pinch of red pepper flakes at this stage.
Once everything is well combined and fragrant, you’ve successfully prepared the base for your pasta e fagioli.
Additionally, ensuring you have the right garden hose accessories can help maintain the freshness of your ingredients by keeping your garden thriving.
Now, you’re ready to move on to the next step!
Cooking the Beans
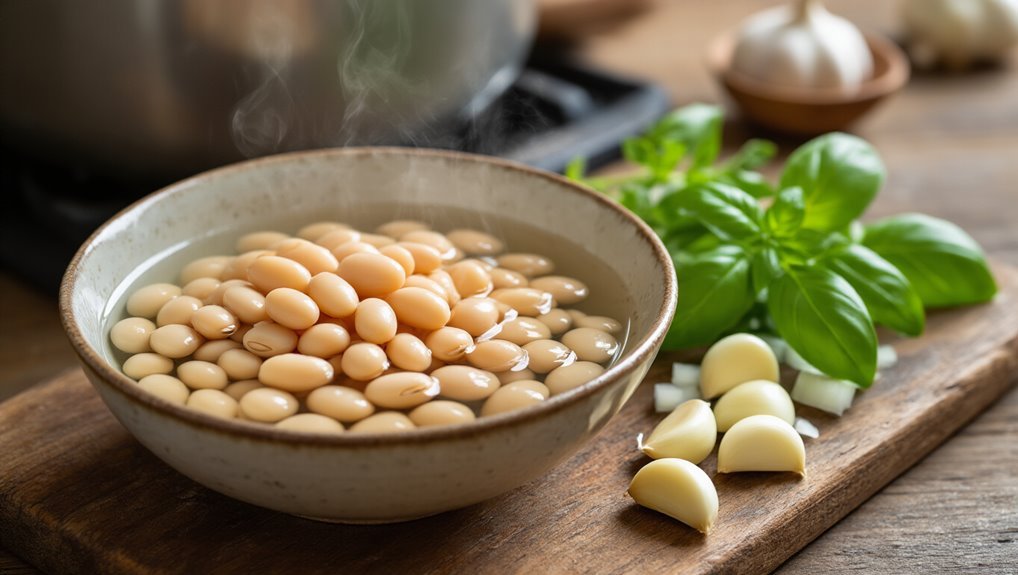
Now that your aromatic base is ready, it’s time to cook the beans. If you’re using dried beans, soak them overnight in water, then drain.
Add them to your pot with the aromatic mixture, cover with fresh water, and bring to a boil. Once boiling, reduce the heat and let them simmer until tender, which usually takes about an hour.
If you’re using canned beans, simply drain and rinse them before adding them to the pot. Stir them in and let them heat through for about 10 minutes, allowing the flavors to meld.
Remember to taste and adjust the seasoning with salt and pepper as needed. You want the beans to be soft but not mushy, providing a hearty base for your soup. If you’re interested in enhancing your dish, consider growing your own herbs with our complete kits for a fresh and aromatic touch!
Adding the Pasta
Once the beans are tender, it’s time to add the pasta. This step will transform your dish into a hearty delight. Choose a pasta shape that suits your taste—small shapes like ditalini work best.
Here’s how to do it:
- Measure the Pasta: Use about 1 cup of pasta for every 4 servings.
- Stir it In: Add the pasta to the pot, stirring well to combine with the beans and broth.
- Cook it Right: Let it simmer for about 8-10 minutes, or until the pasta is al dente.
- Taste and Adjust: Before serving, taste the dish and adjust the seasoning, adding salt or pepper as needed.
Now you’re all set for the next delicious step!
Incorporating Vegetables
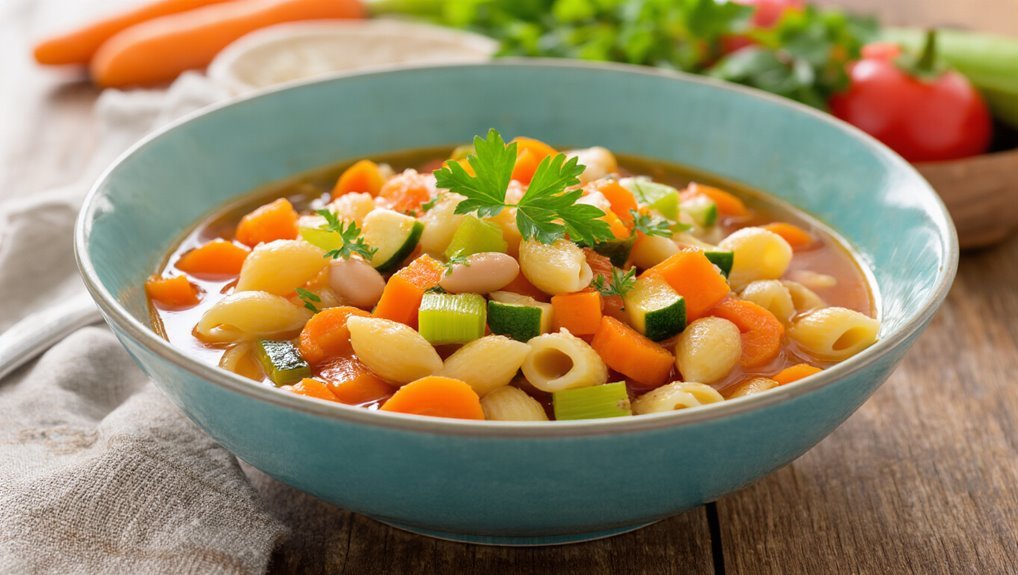
While the pasta cooks, incorporating vegetables not only enhances the flavor but also boosts the nutrition of your Pasta E Fagioli. Start with classic options like diced carrots, celery, and onions to build a flavorful base. You can also add minced garlic for an aromatic kick.
As the vegetables soften, they’ll meld beautifully with the broth.
Don’t stop there! Consider tossing in some fresh spinach or kale for added greens. If you’re feeling adventurous, zucchini or bell peppers can introduce new textures and colors.
Just remember to chop everything uniformly to ensure even cooking. By layering in these vegetables, you’ll create a heartier, more satisfying dish that’s packed with nutrients, making your Pasta E Fagioli truly special.
Seasoning to Perfection
To achieve a flavorful Pasta E Fagioli, you need to focus on seasoning it just right. Proper seasoning elevates your dish and brings all those delicious ingredients together.
Here are four key tips to ensure you hit the mark:
- Salt: Start with a generous pinch while cooking; you can always adjust later.
- Black Pepper: Freshly ground pepper adds a nice kick—don’t hold back!
- Herbs: Use fresh or dried herbs like oregano and basil for that authentic Italian flavor.
- Red Pepper Flakes: If you like some heat, sprinkle a bit in to awaken your taste buds.
With these tips, you’ll enhance your Pasta E Fagioli, making it irresistible!
Simmering for Flavor
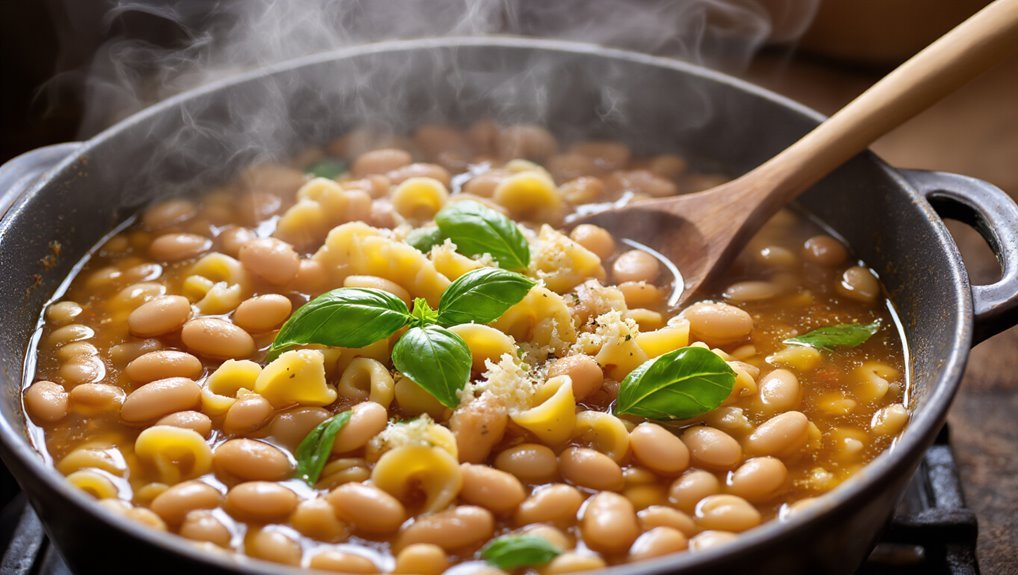
Simmering your Pasta E Fagioli is essential for developing rich flavors, as it allows the ingredients to meld together beautifully. During this process, the beans, vegetables, and spices interact, creating a harmonious taste that can’t be rushed. Aim for a gentle simmer for at least 30 minutes, stirring occasionally. This not only enhances the flavor but also thickens the broth, making it hearty and satisfying.
Here’s a quick guide to what to watch for while simmering:
| Aspect | What to Look For |
|---|---|
| Aroma | Rich, savory scent develops |
| Consistency | Broth thickens slightly |
| Flavor | Tasting becomes balanced |
Allowing your dish to simmer will ensure every bite is deliciously layered with flavor.
Serving Suggestions
Pasta E Fagioli isn’t just a meal; it’s an experience that can be elevated with the right serving suggestions. Here are a few ideas to enhance your dish:
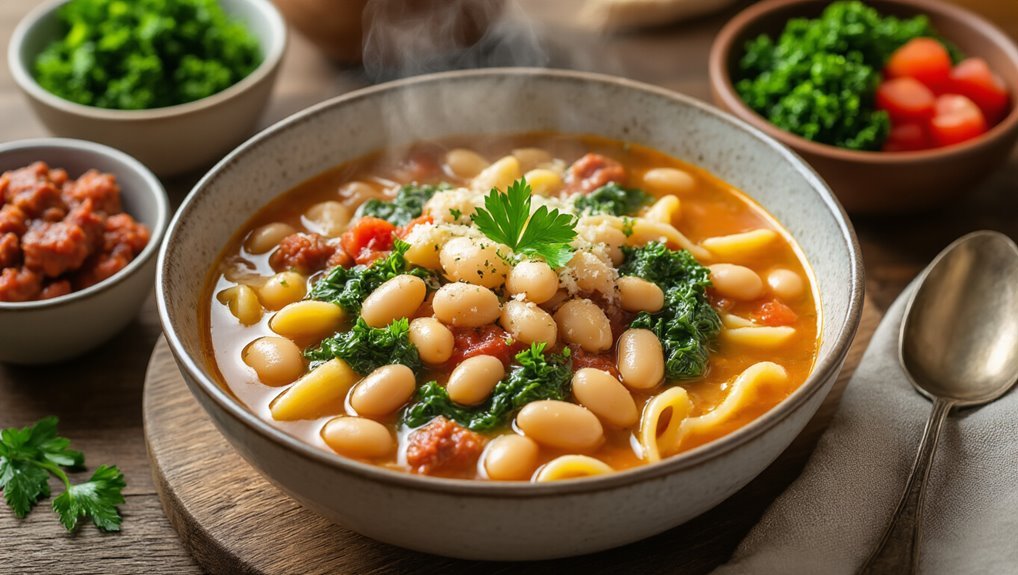
- Fresh Herbs: Sprinkle some chopped fresh parsley or basil on top for a burst of flavor and color.
- Grated Cheese: Add a generous helping of freshly grated Parmesan or Pecorino Romano for that creamy, salty touch.
- Crusty Bread: Serve your Pasta E Fagioli with a side of warm, crusty bread for dipping.
- Olive Oil Drizzle: Finish with a light drizzle of high-quality extra virgin olive oil to enrich the dish’s taste.
These simple suggestions will turn your Pasta E Fagioli into a delightful dining experience you won’t forget!
Variations to Try
Once you’ve mastered the classic Pasta E Fagioli, exploring variations can add a delightful twist to this beloved dish.
Consider adding spicy Italian sausage for a kick, or try using pancetta for added depth. If you’re looking for a vegetarian option, swap the meat for mushrooms or roasted vegetables.
You might also experiment with different beans, like cannellini or chickpeas, to change the flavor profile. For a creamier texture, stir in a splash of heavy cream or a dollop of mascarpone.
Finally, don’t forget about herbs—basil, rosemary, or even a hint of thyme can elevate your dish. Each variation offers a unique spin, making Pasta E Fagioli a versatile choice for your dinner table!
Storing and Reheating Tips
When you’ve got leftover Pasta E Fagioli, proper storage and reheating can keep it just as delicious as when it was freshly made.
Follow these tips to enjoy your soup at its best:
- Cool it Down: Allow the soup to cool to room temperature before storing it. This helps prevent condensation in the container.
- Use Airtight Containers: Transfer the soup into airtight containers to keep it fresh and prevent odors from affecting the flavor.
- Refrigerate or Freeze: Store in the fridge for up to 3 days or freeze for up to 3 months.
- Reheat Gently: When reheating, do it on the stove over low heat, stirring occasionally, or use the microwave in short intervals to avoid overcooking.
Enjoy your hearty soup!
Frequently Asked Questions
Can I Use Canned Beans Instead of Dried Beans?
Yes, you can definitely use canned beans instead of dried beans. Just drain and rinse them before adding to your dish. It’ll save you time and still give you a delicious flavor!
What Type of Pasta Works Best for Pasta E Fagioli?
When choosing pasta for pasta e fagioli, opt for small shapes like ditalini or elbow macaroni. They absorb the broth well and complement the beans, creating a hearty, satisfying dish that you’ll love.
Is Pasta E Fagioli Gluten-Free?
Imagine a garden of flavors, where gluten-free pasta dances amidst the beans and broth. Yes, pasta e fagioli can be gluten-free! Just swap traditional pasta for a gluten-free alternative, and you’re set for a delicious meal.
How Long Can I Store Leftover Pasta E Fagioli?
You can store leftover pasta e fagioli in the refrigerator for up to three to four days. If you want to keep it longer, freeze it for up to three months. Just remember to reheat properly!
Can I Freeze Pasta E Fagioli?
Yes, you can freeze pasta e fagioli! Just make sure it’s cooled completely before transferring it to airtight containers. It’ll keep well for about three months, but the pasta might become softer upon reheating.
Conclusion
You’ve crafted a warm, hearty bowl of pasta e fagioli, a dish that effortlessly combines simplicity with rich flavors. As you savor each spoonful, contrast the tender pasta with the creamy beans, and let the vibrant vegetables dance on your palate. This recipe isn’t just about nourishment; it’s a comforting embrace on chilly nights or a quick weekday meal. So, gather your loved ones and indulge in this timeless classic—where every bite tells a story of tradition and love.


